Create an API proxy
This guide explains how to create a reverse API proxy in Google Apigee.
API proxies decouple the app-facing API from your backend services, shielding those apps from backend code changes. As you make backend changes to your services, apps continue to call the same API without any interruption. — Google Apigee Docs
Access Google Apigee
-
Go to the WPP Non-Prod Dashboard > Apigee EDGE Non Prod.

Create an API proxy
-
Select API Proxies > + Proxy > Reverse proxy.
We recommend creating reverse proxies for most use cases but feel free to create a different kind of proxy if you know it will suit your use case best.
Now, follow the steps necessary to create a proxy: specify the proxy details, policies, virtual hosts, and initial deployment details.
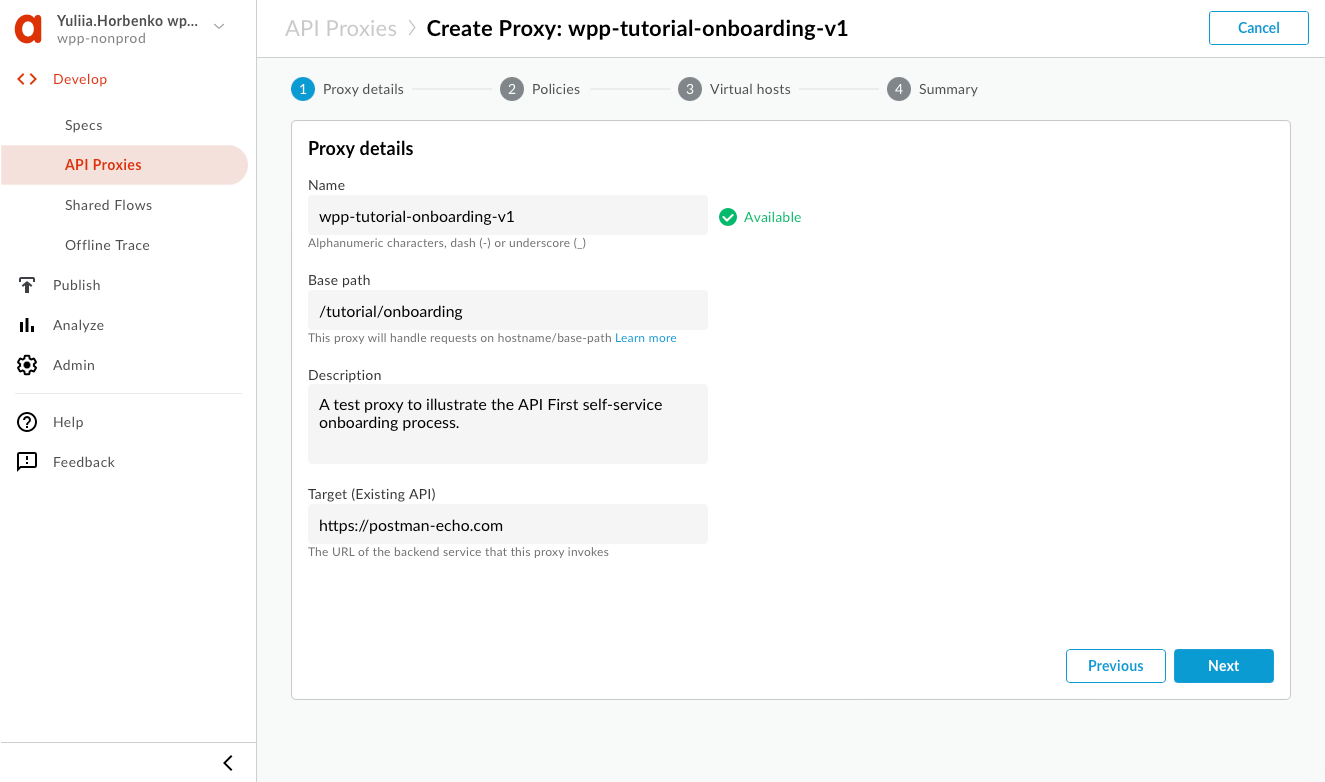
Proxy details
-
Give your proxy a name that follows API conventions: start with the creator's or agency name, followed by the service the API provides, and then the API version.
-
For the base path, be specific about what the API does, and avoid using dashes (for instance,
advertising/facebook). -
The description is required—write a sentence or two to present your API.
-
Specify a target URL without any additional parameters and select Next.
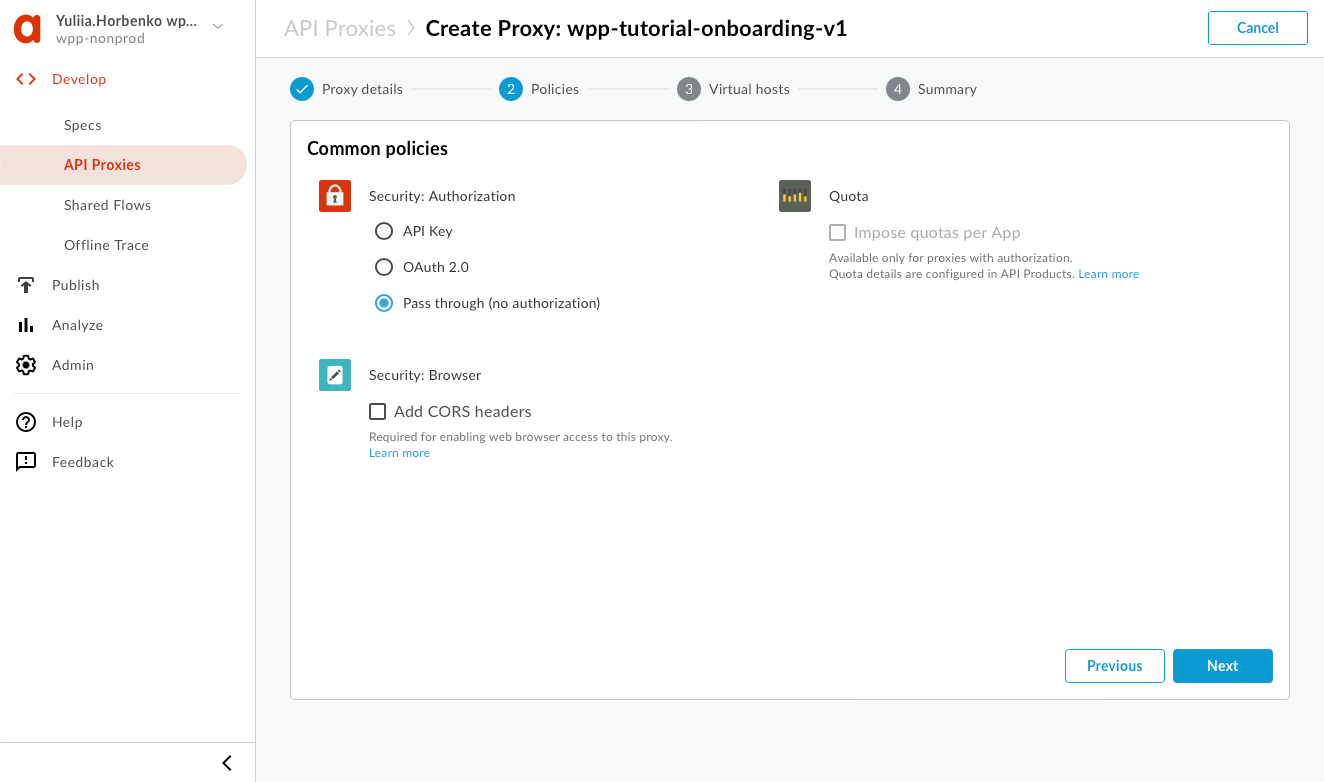
Policies
-
You can implement policies if needed, but we recommend leaving it as is since API First provides some standard shared flows for all proxies. Select Next.
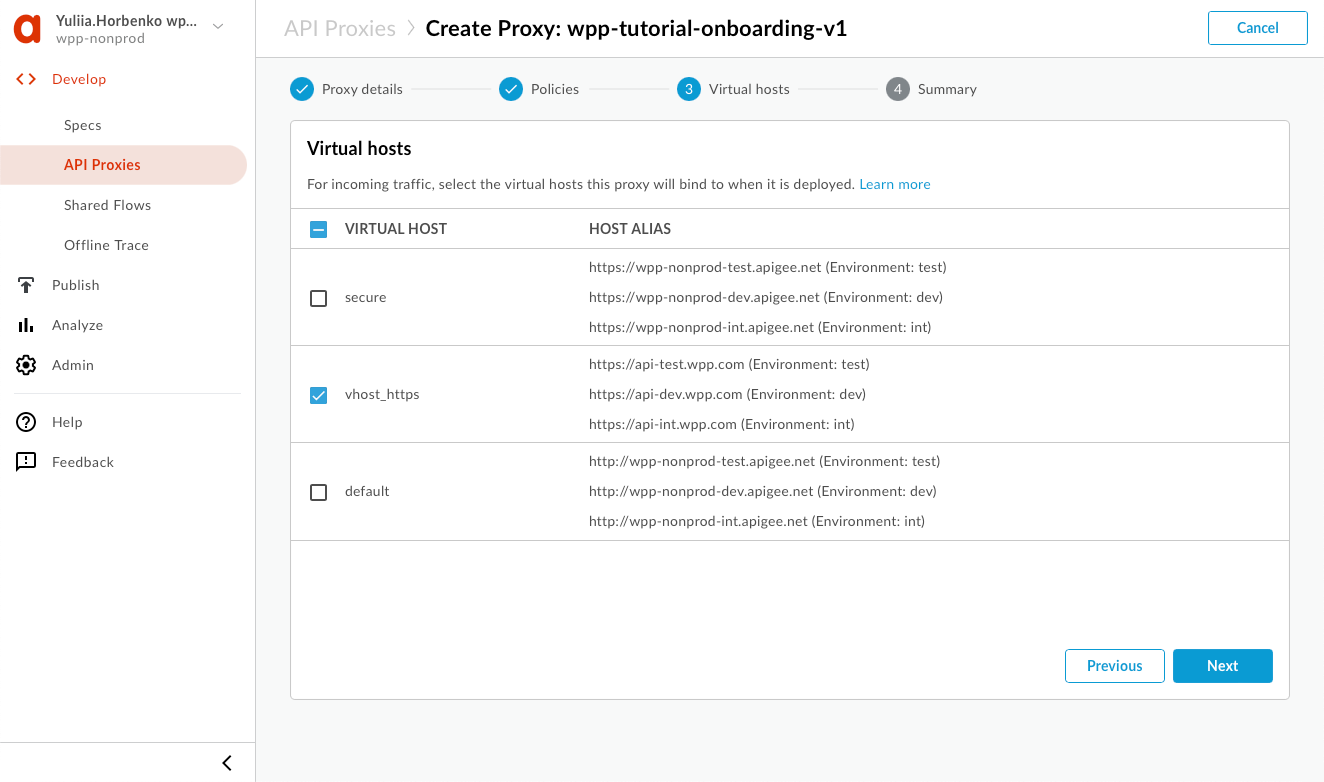
Virtual hosts
-
Deselect secure, and select vhost_https. This is because API First implements a Cloudflare front, which is more secure than the default Apigee options.
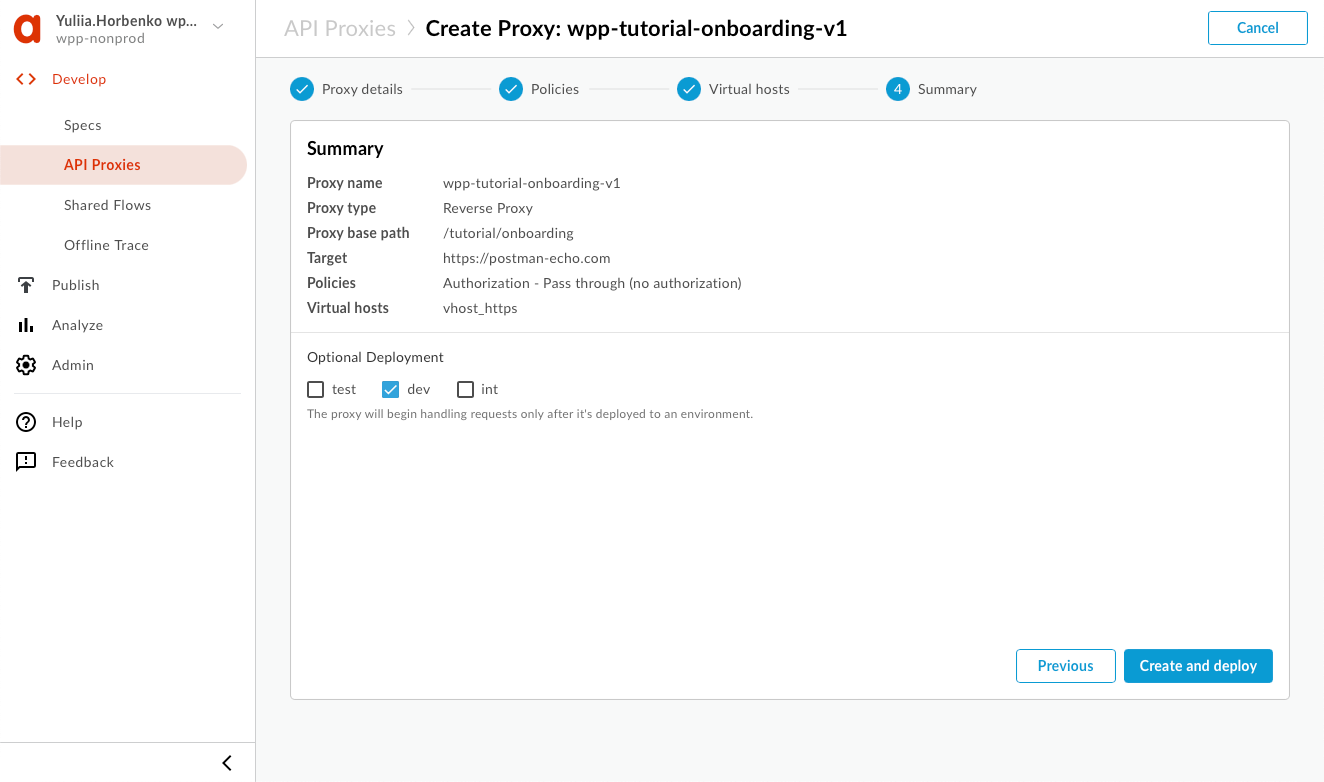
Summary
-
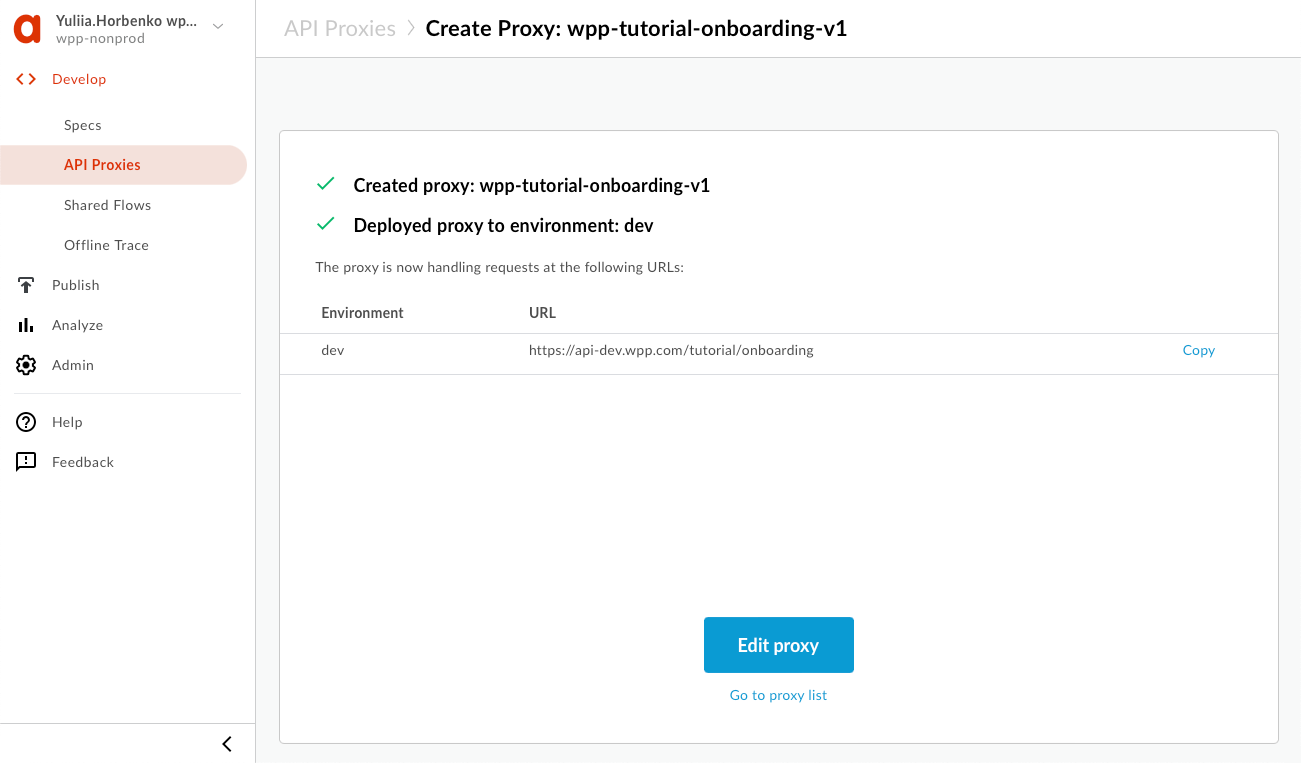
Review the proxy details and select the initial deployment environment. It doesn't matter which environment you choose since only deploy it for development and testing. Then, select Create and deploy.
Next step: Configure the proxy
-
Once the proxy is deployed, select Edit proxy to continue configuring it.